
How To Repair Sleeping Bag Rip
In the realm of outdoor adventures, few items are as indispensable as a trusty sleeping bag. Whether you’re camping under the stars or embarking on a daring backpacking expedition, this cozy cocoon provides warmth and comfort. However, even the most resilient sleeping bags can fall victim to rips and tears. What’s a nature enthusiast to do? Fear not! This guide will illuminate the essential steps to repair a sleeping bag rip, ensuring your trusty companion remains ready for your next adventure.
Understand the Nature of the Rip
The first step in any repair process is to assess the damage. Consider the size, location, and type of fabric involved. Rips can vary from a small pinhole to a significant tear. Additionally, sleeping bags frequently utilize synthetic or down insulation materials, each requiring different approaches to repair. Understanding these nuances will guide your method of choice.
Gather Your Supplies
Before diving into the repair process, assembling the necessary materials is vital. You’ll need:
- Fabric patch or repair tape: Opt for specialized fabric patches designed for outdoor gear or high-quality repair tape.
- Scissors: Sharp scissors will help create clean edges for your fabric patch.
- Needle and thread: Use a strong thread that matches the weight of the bag. Heavy-duty or outdoor thread works best here.
- Fabric glue (optional): This adhesive can provide additional support, particularly for small tears.
- Ruler or measuring tape: Precision is key when sizing patches.
- Pencil or fabric marker: Use this to mark your patch size.
Preparing the Repair Site
Ultimately, the success of your repair hinges on how well you prepare the damaged area. Begin by cleaning the rip. Gently removing any dirt or debris surrounding the tear will create a clean surface for adhering the patch or applying the stitching. Next, carefully trim any frayed edges to facilitate a smooth repair process. If the tear has caused the insulation to spill out, delicately tuck it back into place before proceeding.
Applying the Patch
For smaller rips, a fabric patch can work wonders. Cut a piece of fabric that is at least an inch larger than the tear in every direction for a solid hold. This redundancy ensures that the patch can withstand tension during use. If you have selected repair tape, you can skip the cutting step, as it often comes in pre-sized strips.
Once you have your patch or tape ready, peel off the backing (if applicable) and position it over the rip. Ensure it covers the tear entirely, then press firmly. Optionally, you might want to apply a thin layer of fabric glue under the patch for additional adhesion. Allow it to set according to the product instructions, generally involving a wait of about 30 minutes.
If the damage is more substantial, sewing may be the more effective option. Thread the needle and make small, even stitches across the rip. Employ a whip stitch or a straight stitch, working from one end of the tear to the other. For added strength, you might double-thread the needle, ensuring that each stitch can weather the elements. Make sure the stitches are taut but not overly tight, as this can distort the fabric.
Reinforcing the Exterior
After securing the patch, consider reinforcing the area further. Utilize additional patches to cover the edges of the original repair. This safeguards against future rips and adds a layer of durability to your sleeping bag. If desired, mix and match colors or patterns to personalize your bag, transforming a repair into a statement of individuality.
Finishing Touches
Once you’ve executed your desired repairs, it’s crucial to check that everything is secure. Gently tug on the patched area to ensure stability. If utilizing fabric glue, allow it ample time to cure fully before packing the sleeping bag away for your next escapade. In addition, giving your sleeping bag a gentle wash after repairs can help refresh it and remove any adhesive residue.
Embrace the Adventure
Now that your sleeping bag is revitalized, you can confidently embark on your next journey, knowing you’ve equipped yourself with the know-how to mend your gear expertly. Whether traversing rugged terrains, relaxing during festivals, or simply making the most of a backyard camping experience, a well-repaired sleeping bag can make all the difference. So, grab your newfound skills, embrace your adventurous spirit, and continue to explore the great outdoors without the burden of a damaged sleeping bag holding you back!
If you are searching about Sleeping Bag Repair Service - Rugged Thread you’ve visit to the right page. We have 10 Pics about Sleeping Bag Repair Service - Rugged Thread like Sleeping Bag Repair Service - Rugged Thread, Repair a Sleeping Bag : 3 Steps - Instructables and also Repair a Sleeping Bag : 3 Steps - Instructables. Here you go:
Sleeping Bag Repair Service - Rugged Thread
 www.ruggedthread.comsleeping bag sack stuff repair rebuild rip alter bottom problem bags can out we
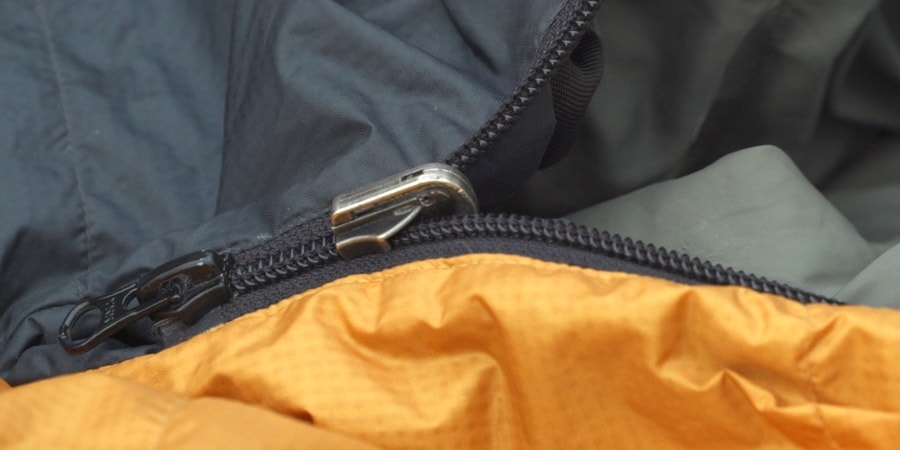
Coleman Sleeping Bag Zipper Repair | Repair Formula
 repairformula.blogspot.comzipper sleeping coleman rei slider fix
How To Repair A Sleeping Bag: Patching Holes And Fixing Zips | Advnture
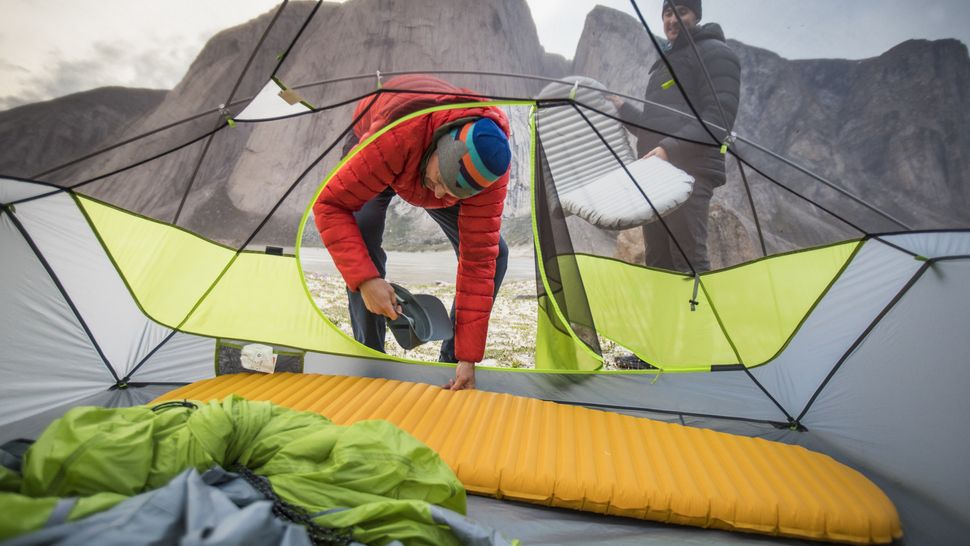 www.advnture.com### How To Repair A Sleeping Bag: Patching Holes And Fixing Zips | Advnture
 www.advnture.com### How To Repair A Sleeping Bag: Patching Holes And Fixing Zips | Advnture
 www.advnture.com### How To Repair A Sleeping Bag: Patching Holes And Fixing Zips | Advnture
 www.advnture.com### Repair A Sleeping Bag : 3 Steps - Instructables
 www.instructables.com### Coleman Sleeping Bag Zipper Repair | Repair Formula
 repairformula.blogspot.comsleeping zipper rei coleman visit
Repair A Sleeping Bag : 3 Steps - Instructables
 www.instructables.com### Repair A Sleeping Bag : 3 Steps - Instructables
